
TL;DR
- Shallots can be stored at room temperature for up to a month in paper bags or mesh containers that allow air circulation
- Refrigerating shallots can extend their shelf life to up to three months
- Freezing chopped shallots is an option for long-term storage, lasting up to twelve months
- Ideal storage conditions for shallots are 32-40°F (0-4.4°C) with 60-70% relative humidity
- Avoid storing shallots near potatoes, as the gases released can speed up spoilage
Introduction
Shallots, those unsung heroes of the culinary world, pack a flavor punch that can elevate any dish from ordinary to extraordinary. But here’s the kicker: their magic fades fast if you don’t store them properly. Mastering the art of shallot storage not only preserves their delicate taste but also helps you slash food waste. Ready to unlock the secrets of keeping these flavor bombs fresh? Let’s dive in!
Understanding Shallots
What Are Shallots
Shallots are the sophisticated cousins of onions, boasting a milder, sweeter flavor with a hint of garlic. These small, elongated bulbs have a copper-colored skin that peels away to reveal purplish-white flesh. Unlike their bolder relatives, shallots offer a subtle complexity that chefs adore for sauces, dressings, and delicate dishes where regular onions might overpower.
Types of Shallots
Not all shallots are created equal. The French Red shallot is a classic variety, known for its pinkish-purple skin and intense flavor. Jersey shallots are larger and milder, perfect for those who want a gentler onion kick. For a visual treat, try the Echalion or banana shallot, a hybrid that looks like a miniature torpedo. Each type has its own storage quirks, so knowing your shallots is key to keeping them fresh.
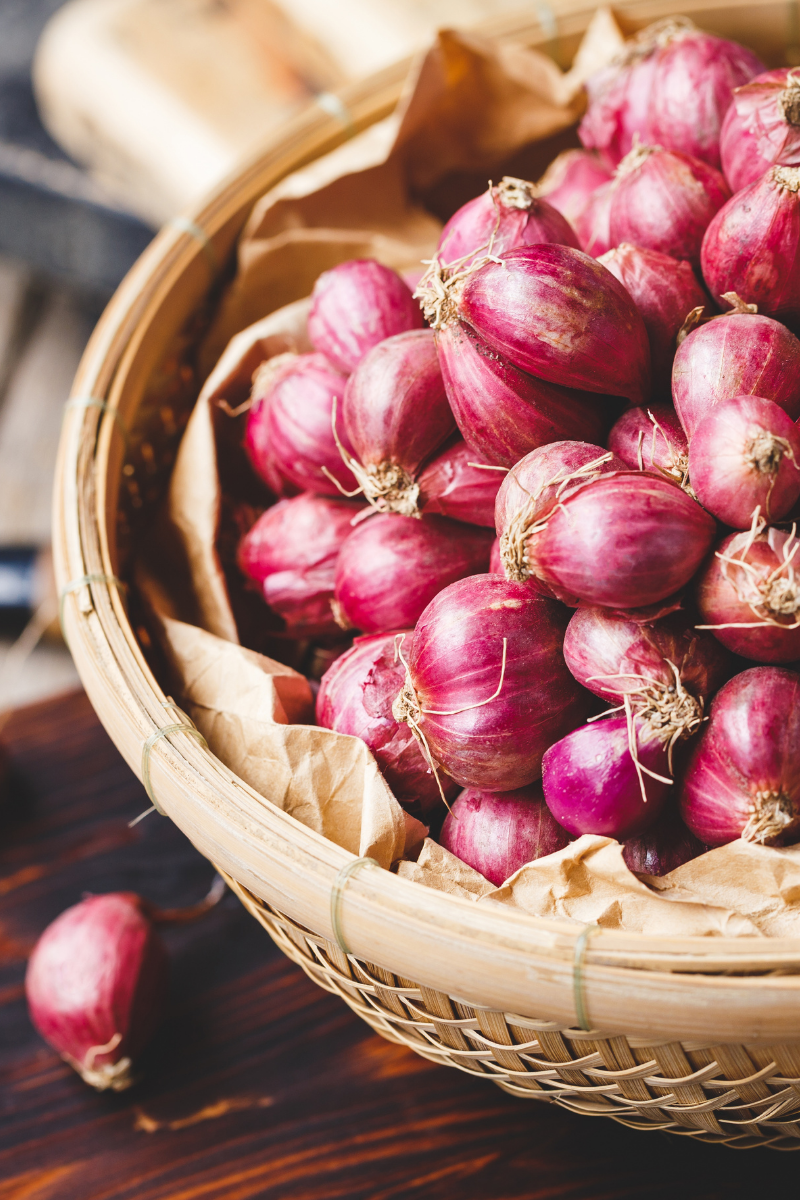
Selecting Shallots for Storage
Picking prime shallots is your first step to storage success. Look for firm bulbs with tight, dry skins – no soft spots allowed! Avoid any with green sprouts peeking out; they’re past their prime. Give them a gentle squeeze: good shallots should feel heavy for their size and have no discernible odor. Steer clear of any with mold or dark patches. Remember, one bad shallot can spoil the bunch, so choose wisely!
Storage Methods
Room Temperature Storage
Using Paper Bags
Paper bags are the unsung heroes of shallot storage. They allow air circulation while protecting your precious bulbs from light. Here’s how to do it right:
- Grab a paper bag and poke a few holes for ventilation.
- Gently place your shallots inside, making sure they’re not cramped.
- Fold the top of the bag loosely to close it.
- Store in a cool, dark spot in your kitchen.
This method keeps your shallots happy for up to a month. Just remember to check on them occasionally and remove any that show signs of spoilage.
Other Room Temperature Options
Don’t have paper bags? No worries! Try these alternatives:
Mesh bags: Great for airflow, but keep them out of direct sunlight.
Baskets: Line with newspaper and place in a cool, dry spot.
Hanging braids: For the aesthetically inclined, braid your shallots and hang them in your kitchen. It’s functional and decorative!
Refrigerator Storage
Sometimes, room temperature just won’t cut it. If your kitchen runs warm or you want to extend shelf life, the fridge is your friend. Wrap each shallot individually in paper towels to prevent moisture buildup, then place them in a mesh bag or open container in your crisper drawer. They’ll stay fresh for up to three months this way.
But beware! Once refrigerated, use your shallots quickly after removing them from the cold. The sudden temperature change can cause them to soften and spoil faster.
Freezing Shallots
Preparing Shallots for Freezing
Freezing is a great option for long-term storage. Start by peeling and chopping your shallots. Rinse them under cold water and pat dry thoroughly. For easy portioning later, consider freezing them in ice cube trays or on a baking sheet before transferring to storage containers.
Freezing and Packaging Methods
Flash freezing is your best bet for preserving texture. Spread chopped shallots on a baking sheet and freeze for an hour. Then, transfer them to freezer bags or airtight containers. Squeeze out as much air as possible to prevent freezer burn. Label with the date, and you’re set for up to twelve months of shallot goodness!
Thawing and Using Frozen Shallots
No need to thaw frozen shallots before cooking! Toss them directly into soups, stews, or sautés. For raw applications, let them thaw in the refrigerator. Keep in mind that frozen shallots work best in cooked dishes, as freezing can alter their texture slightly.
Best Storage Practices
Ideal Storage Conditions
Shallots thrive in cool, dry environments. Aim for temperatures between 32-40°F (0-4.4°C) with 60-70% relative humidity. Dark spaces are best, as light can encourage sprouting. Good air circulation is crucial, so avoid cramming them into tight spaces.
Avoiding Common Mistakes
Don’t let your shallot storage go awry! Steer clear of these pitfalls:
- Storing near potatoes: They release gases that speed up spoilage.
- Using plastic bags: They trap moisture, leading to mold.
- Keeping cut shallots at room temperature: Once sliced, refrigerate promptly.
- Ignoring sprouted shallots: Remove sprouts to extend shelf life.
Labeling and Organization
Stay on top of your shallot game with smart organization. Label containers with purchase dates and expected use-by times. Store older shallots in front for easy access. Consider separating varieties if you’re a shallot aficionado. A well-organized storage system means less waste and more flavor in your cooking!
Conclusion
Mastering shallot storage is your ticket to culinary success. With these tips in your arsenal, you’ll always have these flavor powerhouses at the ready. Experiment with different methods to find what works best in your kitchen. Your taste buds – and your wallet – will thank you for keeping those shallots in prime condition. Now go forth and conquer the world of shallot storage!


Leave a Reply