
TL;DR
- Collard greens should be stored unwashed in the refrigerator, wrapped in moist paper towels and sealed plastic bags for 3-4 days.
- Blanching collard greens for 3 minutes before freezing is crucial to preserve quality and prevent off-flavors.
- Store collards away from ethylene-producing fruits like apples and pears to prevent premature yellowing.
- When canning collard greens, leave about an inch of headspace in the jars for proper sealing.
- Regularly check stored collards for signs of spoilage, removing any decaying leaves promptly.
Introduction
Collard greens: the unsung heroes of the vegetable world. These leafy powerhouses pack a nutritional punch that rivals their more famous cousins like kale and spinach. But here’s the rub – their crisp, vibrant goodness fades fast without proper storage.
Let’s dive into the art of keeping collards fresh. We’ll explore tried-and-true methods that’ll make your greens last longer than a Southern summer day. And while we’re at it, we’ll see how these techniques stack up against other leafy contenders in your crisper drawer.
Choosing Fresh Collard Greens
Look for Vibrant Leaves
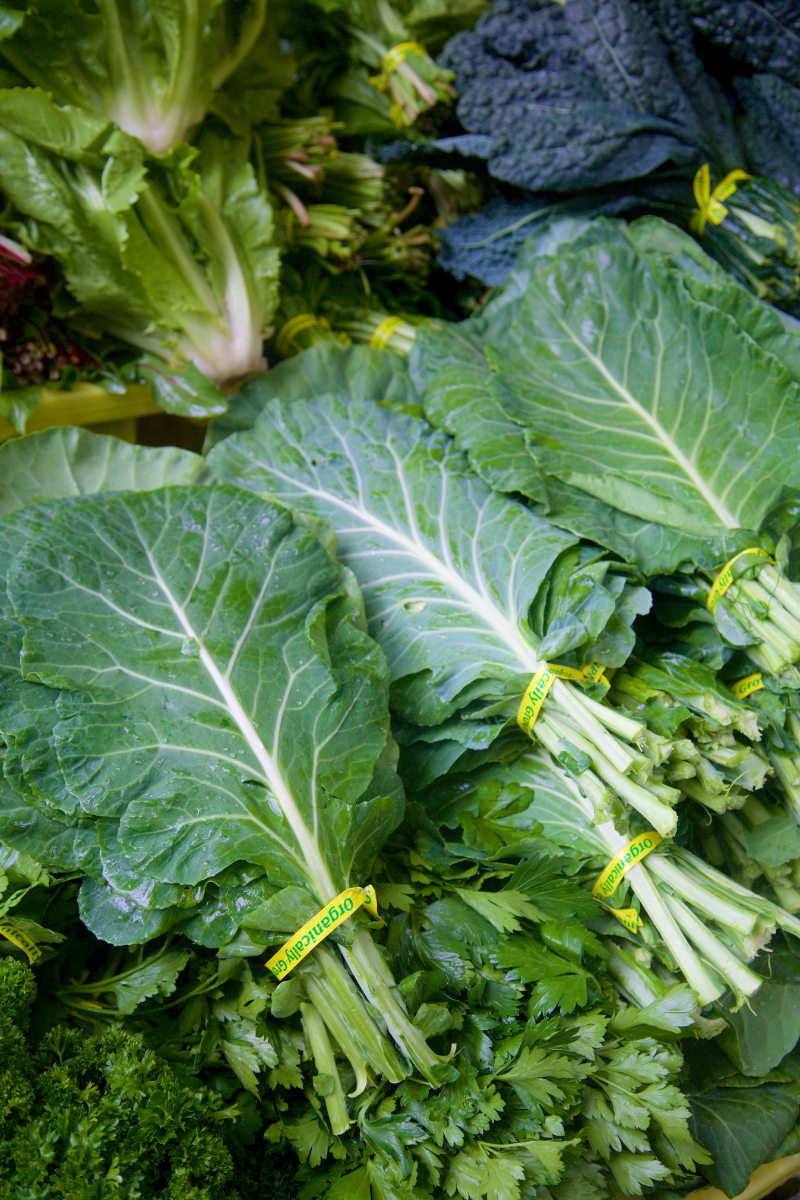
Picture a field of collards basking in the morning sun. That’s the vitality you’re after when selecting your greens. Seek out leaves with a deep, rich green color – they should practically glow with freshness.
Run your fingers over the leaves. They should feel crisp and sturdy, not limp or wilted. Bonus points if the leaves are so fresh they squeak when you rub them together. Size matters too – opt for medium-sized leaves, as they strike the perfect balance between tenderness and flavor.
Avoid Damaged Greens
Steer clear of leaves that look like they’ve gone a few rounds in the boxing ring. Yellowing edges, brown spots, or holes are all red flags. These blemishes aren’t just cosmetic – they’re harbingers of rapid decay.
Slimy or mushy areas are absolute deal-breakers. They’re signs that your greens are already on their way out. And if you catch a whiff of something funky? Trust your nose and walk away. Fresh collards should smell earthy and green, not sour or musty.
Preparing for Storage
Washing Collard Greens
Time to give your greens a spa day. Fill your sink with cool water and let the leaves take a dip. Swish them around gently – you’re not churning butter here. This bath helps loosen any stubborn dirt or hitchhiking insects.
For extra-grimy greens, add a splash of white vinegar to the water. It’s nature’s disinfectant and won’t leave any taste behind. After their soak, rinse each leaf under running water, paying special attention to the ribs and crevices where dirt loves to hide.
Removing Tough Stems
Now for some leaf surgery. Lay each collard leaf flat and run your knife along both sides of the center stem. You’ll end up with a neat pile of leaf halves and a stack of stems.
Don’t toss those stems! They’re packed with fiber and make great additions to soups or stir-fries. For now, set them aside – we’ll store them separately from the leaves.
Drying Thoroughly
Moisture is the enemy of longevity when it comes to stored greens. Enter the salad spinner – your secret weapon in the war against wilting. Give your leaves a whirl until they’re as dry as a stand-up comedian’s wit.
No spinner? No problem. Lay the leaves out on clean kitchen towels or paper towels. Pat them dry gently, as if you’re blotting lipstick off a napkin. A little extra effort here pays off big time in the freshness department.
Refrigerator Storage
Wrapping Methods
Let’s talk wrapping – and no, we’re not planning a birthday party. The goal is to create a microclimate that keeps your collards crisp without drowning them in moisture.
Try the roll-up method: layer leaves between paper towels, then roll them up like a green burrito. Slip this bundle into a plastic bag, leaving one end slightly open for air circulation. Or go for the classic approach: line a plastic container with paper towels, add your greens, and top with another paper towel before sealing. These methods can keep your collards fresh for about three to four days.
Best Fridge Conditions
Your crisper drawer is collard heaven. It’s designed to maintain higher humidity, which leafy greens adore. Aim for a temperature between 32°F and 40°F (0°C to 4°C) – any colder and you risk frost damage.
Pro tip: store your collards away from ethylene-producing fruits like apples and pears. These gassy neighbors can cause your greens to yellow faster than you can say “Southern comfort food.”
Freezing Collard Greens
Blanching Process
Freezing collards is like hitting the pause button on their freshness clock. But first, we blanch. This quick hot bath followed by an ice-cold plunge stops enzyme activity that can lead to off-flavors and mushy textures.
Bring a pot of water to a rolling boil. Drop in your prepped collard leaves and let them swim for 3 minutes. Then, fish them out and plunge them into an ice bath. This shock treatment locks in color, flavor, and nutrients.
Packaging for Freezing
Once your collards have chilled out, it’s time to prep them for their deep freeze adventure. Squeeze out excess water – you’re aiming for “damp,” not “sopping wet.”
Portion your greens into freezer bags or containers. Press out as much air as possible before sealing – you’re not leaving room for freezer burn here. Label each package with the date, so you don’t end up with mystery greens months down the line.
Canning Collard Greens
Canning collards is like capturing summer in a jar. It requires some special equipment – pressure canner, jars, lids – and a healthy respect for food safety. This isn’t the place to wing it or take shortcuts.
Start by sterilizing your jars and lids. Pack your prepped and blanched collards into the jars, leaving about an inch of headspace. Add boiling water or broth, along with a bit of salt if desired. Then it’s into the pressure canner they go, following the manufacturer’s instructions to the letter.
The result? Shelf-stable greens that’ll taste like they were picked yesterday, even in the depths of winter.
Keeping Greens Fresh Longer
The secret to long-lasting collards isn’t just in the initial storage – it’s in the ongoing care. Handle your stored greens with clean, dry hands to avoid introducing bacteria. If you’re using the roll-up method, re-roll with fresh paper towels every few days.
Check on your greens regularly, removing any leaves that show signs of decay. It’s like weeding a garden – one bad leaf can spoil the bunch. And if you notice condensation building up in your storage container, crack the lid open slightly to let excess moisture escape.
Spotting Spoiled Greens
Even with the best care, collards won’t last forever. Learn to recognize the signs of spoilage to avoid an unpleasant surprise at dinner time.
Yellow or brown discoloration is your first clue that things are heading south. A slimy texture or strong, unpleasant odor are definite deal-breakers. When in doubt, trust your senses – if it looks or smells off, it’s time to say goodbye.
Conclusion
Mastering the art of collard green storage is your ticket to enjoying these nutritional powerhouses year-round. From crisp refrigerated leaves to freezer-ready bundles, you’re now equipped to keep your greens at their peak.
Remember, proper storage isn’t just about longevity – it’s about preserving flavor, texture, and nutrients. So go ahead, stock up on those collards. Your future self (and your taste buds) will thank you for it.


Leave a Reply