
TL;DR
- A freshly baked cherry pie can be safely stored at room temperature for up to 2 days
- Refrigerated cherry pies stay fresh for 4-5 days when properly wrapped
- Freezing can extend a cherry pie’s life up to 4-8 months while maintaining quality
- Unbaked frozen cherry pies should be baked directly from the freezer, adding 20-30 minutes to the baking time
- Proper wrapping techniques and storage methods are crucial for maintaining pie quality and preventing soggy crusts
Introduction
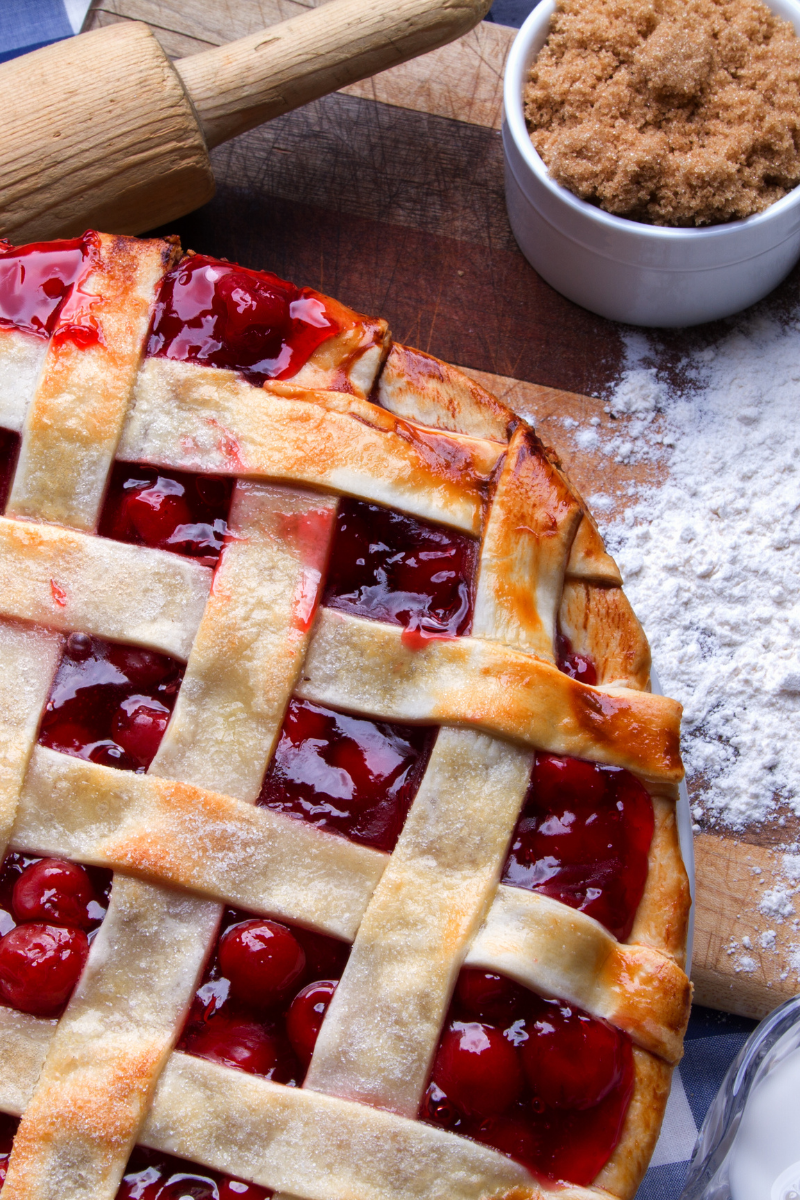
Picture this: You’ve just baked the perfect cherry pie. The crust is golden, the filling bubbling with sweet-tart goodness. But what now? How do you keep this slice of heaven fresh and delicious?
Proper storage is the unsung hero of pie perfection. It’s not just about preserving taste – though that’s crucial. It’s about maintaining that delightful contrast between flaky crust and juicy filling, and ensuring your pie stays safe to eat. In this guide, we’ll explore the art and science of storing cherry pies. From countertop to freezer, we’ve got you covered.
Refrigerating Cherry Pies
When to Refrigerate
Cherry pies and refrigerators have a complicated relationship. Generally, if your pie contains eggs or dairy in the filling or topping, it needs to chill out in the fridge within two hours of baking. But what about a classic cherry pie?
The high sugar content in cherry filling acts as a preservative, buying you some time. A freshly baked cherry pie can safely sit at room temperature for up to two days. After that, it’s fridge time. Once refrigerated, your cherry pie will stay fresh for an additional 4-5 days.
Humidity and heat can speed up spoilage. If your kitchen feels like a sauna, err on the side of caution and refrigerate sooner.
How to Refrigerate
Proper refrigeration is an art form. First, let your pie cool completely. Warm pie + cold fridge = condensation nightmare.
Once cool, wrap your pie loosely in plastic wrap or aluminum foil. Don’t suffocate it – a little air circulation prevents sogginess. For extra protection, place the wrapped pie in a large resealable plastic bag.
Where should your pie reside in the fridge? The back of the middle shelf is prime real estate. It’s the coolest, most consistent spot. Avoid the door – temperature fluctuations there can mess with your pie’s texture.
Room Temperature Storage
When Room Temp is Safe
Room temperature storage is perfect for the impatient pie lover. As mentioned earlier, a fresh cherry pie can hang out on your counter for up to two days. This is ideal if you plan to devour it quickly (no judgment here).
The key is a cool, dry spot away from direct sunlight. Your pie isn’t a sunbather – UV rays can degrade both flavor and texture.
Remember, this two-day rule applies to pies made with fresh or canned fruit fillings. If your recipe includes custard, cream, or eggs, it’s straight to the fridge, no passing go.
Counter Storage Best Practices
To keep your counter-stored pie in tip-top shape, cover it with an overturned bowl. This creates a mini pie dome, protecting it from dust, insects, and sneaky midnight snackers.
If you don’t have a bowl big enough, try a clean kitchen towel. Just make sure it doesn’t touch the pie’s surface – nobody wants lint for dessert.
Avoid plastic wrap for room temperature storage. It can trap moisture, leading to a soggy bottom (a pie cardinal sin).
Check your pie daily for any signs of mold or off-smells. Better safe than sorry when it comes to food safety.
Freezing Cherry Pies
Preparing Pies for Freezing
Freezing is the superhero of pie storage, extending your cherry pie’s life by up to 4-8 months while maintaining best quality. But with great power comes great responsibility – proper preparation is key.
For optimal results, freeze your pie before baking. This preserves the texture of both crust and filling. If you’re freezing a baked pie, let it cool completely first.
Wrap your pie in a double layer of plastic wrap, ensuring no part is exposed. Then, wrap it again in aluminum foil or place it in a large freezer bag. This triple-layer approach is your best defense against freezer burn.
Label your pie with the date – future you will appreciate this.
Freezing Methods
Two main methods reign supreme in the world of pie freezing:
Flash Freeze: Place your unwrapped, unbaked pie on a baking sheet. Freeze until solid (about 12 hours). Then wrap and return to the freezer. This method prevents the wrap from sticking to your beautiful top crust.
Direct Freeze: Wrap your pie and place it directly in the freezer. This works well for baked pies or those without a top crust.
Whichever method you choose, place your pie on a flat surface in the freezer. A tilted pie is a sad pie.
Thawing Frozen Cherry Pies
Patience is a virtue when it comes to thawing. Never thaw a frozen pie at room temperature – this can make the bottom crust soggy.
For unbaked pies: Don’t thaw at all! Pop it straight from freezer to oven, adding about 20-30 minutes to your usual baking time. Start at 425°F for 15-20 minutes, then reduce to 350°F until done.
For baked pies: Thaw overnight in the refrigerator. Once thawed, let it sit at room temperature for about 30 minutes before serving or reheating.
Packaging for Storage
Wrapping Materials and Techniques
Your choice of wrapping can make or break your pie storage game. Here’s a rundown of top contenders:
Plastic Wrap: Great for short-term fridge storage. Press it gently against the pie’s surface to create a seal.
Aluminum Foil: Ideal for freezer storage. It’s sturdy and protects against freezer burn.
Pie Keepers: These purpose-built containers are perfect for counter storage. They allow air circulation while keeping out contaminants.
Beeswax Wraps: An eco-friendly option for short-term storage. They mold well to the pie’s shape.
Whatever you choose, the goal is to minimize air exposure while avoiding squishing your masterpiece.
Preventing Soggy Crusts
Soggy crusts are the bane of pie lovers everywhere. Here are some pro tips to keep your crust crisp:
Cool completely before storing. Steam is the enemy of crispness.
For cream or custard pies, brush the bottom crust with beaten egg white before filling and baking. This creates a moisture barrier.
When refrigerating, place a paper towel under the pie to absorb excess moisture.
Reheat refrigerated pies in the oven, not the microwave, to re-crisp the crust.
For frozen pies, thaw in the refrigerator to prevent condensation from making the crust soggy.
Signs of Spoilage
Even with perfect storage, all good pies must come to an end. Know when to say goodbye by watching for these signs:
Mold: Any sign of fuzzy growth is a hard no. Don’t try to salvage partial pies – where there’s visible mold, invisible spores have likely spread.
Off Odors: Trust your nose. If it smells funky, fermented, or just “off,” it’s time to let go.
Texture Changes: If the filling becomes watery or the crust feels slimy, it’s past its prime.
Discoloration: Brown spots on the filling or crust can indicate spoilage.
Bubbling or Fizzing: If your filling looks like it’s trying to escape, it’s fermenting. Time to say goodbye.
When in doubt, throw it out. No pie is worth food poisoning.
Reheating and Serving
Properly reheating your stored pie can restore it to its former glory. For refrigerated pies, let them come to room temperature for about 30 minutes before reheating.
Oven reheating is best:
- Preheat to 350°F (175°C).
- Place pie on a baking sheet.
- Warm for 15-20 minutes for room temperature pies, or 30-35 minutes if chilled.
- Cover loosely with foil if the crust starts to brown too much.
For frozen pies, add about 15 minutes to these times.
Avoid microwaving if possible – it can make the crust chewy. If you must, use short bursts of 10-15 seconds.
When serving, a sharp knife dipped in hot water between cuts will give you clean, Instagram-worthy slices. And remember, cherry pie is perfect on its own, but a scoop of vanilla ice cream never hurt anyone.
Conclusion
Mastering the art of cherry pie storage means you can enjoy this classic dessert at its best, whether it’s fresh from the oven or rescued from the depths of your freezer. With these tips in your culinary arsenal, you’re ready to tackle any pie preservation challenge. So go ahead, bake that extra pie – your future self will thank you. Happy baking, and even happier eating!


Leave a Reply