
TL;DR
- Grape leaves can be preserved through freezing, brining, or drying methods
- The best time to harvest grape leaves is late spring to early summer
- Blanching is a crucial step in preserving grape leaves, with different processes for fresh and preserved leaves
- Properly stored frozen grape leaves can last up to six months
- Grape leaves are nutrient-rich, containing vitamin A precursors, fiber, and antioxidants
Introduction
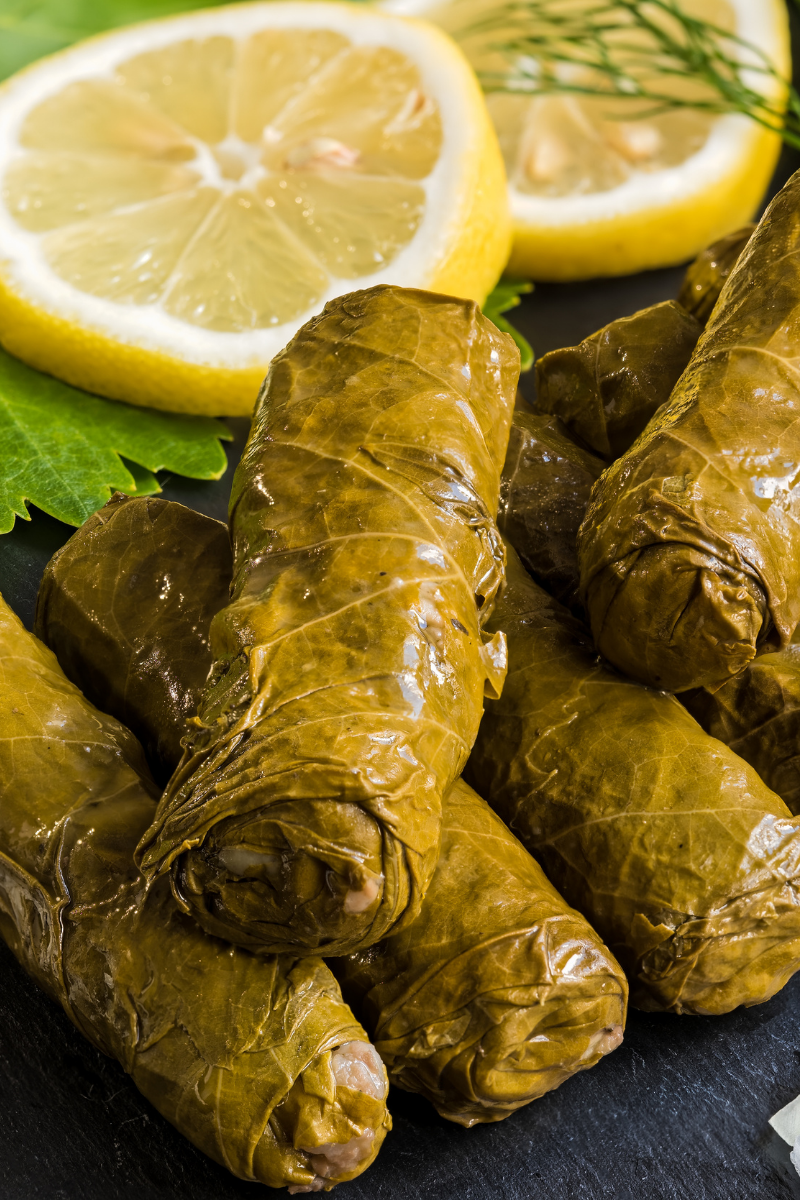
Imagine unwrapping a dolma, the tangy aroma of grape leaves mingling with savory rice and herbs. These versatile leaves have graced tables from the Mediterranean to the Middle East for centuries, lending their subtle flavor and tender texture to countless dishes. But what if you could enjoy this culinary delight year-round, regardless of season?
Proper storage of grape leaves is the key to unlocking their potential in your kitchen. Whether you’re a seasoned chef or a curious home cook, mastering the art of preserving grape leaves will elevate your culinary game. Ready to dive into the world of grape leaf preservation? Let’s get started!
Understanding Grape Leaves
What Are Grape Leaves
Grape leaves are the heart-shaped, veined leaves of the grapevine. Their slightly bitter, tangy flavor and pliable texture make them perfect for wrapping around various fillings. But these leaves offer more than just taste and texture – they’re packed with nutrients too.
Rich in vitamin A precursors such as cryptoxanthin and beta-carotene, grape leaves also boast a healthy dose of fiber. They’re low in calories but high in antioxidants, making them a nutritious addition to any diet. In many cultures, grape leaves symbolize abundance and hospitality, often taking center stage in festive meals and gatherings.
Identifying Edible Varieties
Not all grape leaves are created equal when it comes to culinary use. The best leaves for cooking are young and tender, about the size of your palm. Look for leaves that are bright to medium green, free from blemishes or discoloration.
Texture matters too. Gently feel the leaf – it should be smooth and pliable, not tough or leathery. Avoid leaves with a fuzzy underside, as these tend to be too bitter. And remember, wild grape leaves can be used too, but be sure you can identify them correctly to avoid any toxic lookalikes.
When to Harvest
Timing is everything when it comes to harvesting grape leaves. The prime picking season is late spring to early summer, when the leaves are young and tender. Aim for leaves that are fully opened but not yet mature – these will have the best flavor and texture.
Early morning is the ideal time to harvest, when the leaves are crisp and hydrated. Avoid picking after rain, as wet leaves can become moldy during storage. And here’s a pro tip: leave the top few leaves on each vine to ensure continued growth and a healthy plant.
Sourcing Grape Leaves
Can’t harvest your own? No problem! Many grocery stores stock jarred grape leaves in the international aisle. These are convenient but often packed in brine, so rinse before use. For a fresher option, check Middle Eastern or Mediterranean specialty markets – they often carry seasonal fresh leaves.
Online sources are another option, offering both fresh and preserved leaves. Just be sure to choose a reputable seller and check reviews. And if you’re feeling adventurous, why not try growing your own grapevine? It’s a rewarding way to ensure a steady supply of fresh leaves right at your fingertips.
Preparing Grape Leaves
Cleaning and Washing
Before storage, grape leaves need a thorough cleaning. Start by gently rinsing each leaf under cool running water, paying special attention to the underside where dirt can hide. For stubborn debris, a soft brush can help, but be gentle to avoid tearing.
After rinsing, soak the leaves in a bowl of cool water for about 10 minutes. This helps remove any remaining dirt and also rehydrates the leaves if they’ve wilted a bit. Drain and pat dry with a clean kitchen towel or paper towels. Remember, excess moisture is the enemy of proper storage, so make sure they’re as dry as possible.
Blanching Process
Blanching is a crucial step for preserving grape leaves. It halts enzyme actions that can cause loss of flavor, color, and texture. Plus, it cleanses the surface of dirt and organisms, brightens the color, and helps retain vitamins.
To blanch, bring a large pot of water to a boil with 1 cup of salt for every 4 cups of water. Prepare an ice bath in a separate bowl. Dip the grape leaves into the boiling brine solution for 1-2 minutes, depending on the size of the leaves, then immediately plunge them into the ice bath. This quick temperature change stops the cooking process, preserving the leaves’ integrity. Once cool, drain and pat dry thoroughly. Note that fresh grape leaves need to be blanched to tenderize them, while preserved grape leaves should be blanched to remove some brine.
Storage Methods
Freezing Grape Leaves
Freezing is an excellent method for long-term storage of grape leaves. After blanching and drying, stack the leaves in groups of 20-25, separating each stack with wax paper. This makes it easy to thaw only what you need later.
Place the stacks in freezer bags, squeezing out as much air as possible before sealing. Label with the date and quantity, then pop them in the freezer. Properly stored, frozen grape leaves can last up to six months. When you’re ready to use them, just thaw in the refrigerator overnight.
Brining and Pickling
Brining is a traditional method that not only preserves grape leaves but also enhances their flavor. Create a simple brine by dissolving 1/4 cup of salt in 4 cups of water. Bring to a boil, then let cool completely.
Roll your cleaned and blanched grape leaves into tight cigars and pack them vertically in sterilized glass jars. Pour the cooled brine over the leaves, ensuring they’re completely submerged. Add a weight if needed to keep them under the brine. Seal the jars and store in a cool, dark place. Brined leaves can last several months in the refrigerator.
Drying Grape Leaves
Drying grape leaves concentrates their flavor and allows for compact, long-term storage. You can air-dry leaves by laying them out on screens in a warm, dry, well-ventilated area. Turn them occasionally and expect the process to take several days.
For faster results, use a food dehydrator set to 140°F (60°C). Arrange leaves in a single layer and dry for 2-4 hours until crisp. Once dried, store in airtight containers in a cool, dark place. Dried leaves can last up to a year and are easily rehydrated by soaking in warm water before use.
Using Stored Grape Leaves
Stored grape leaves are incredibly versatile. To use frozen leaves, simply thaw them in the refrigerator overnight. For dried leaves, rehydrate by soaking in warm water for about 30 minutes until pliable. Brined leaves should be rinsed before use to remove excess salt.
Beyond the classic stuffed grape leaves, try using them as a natural wrapper for grilled fish or as a bed for roasted vegetables. Shred them into salads for a tangy kick, or use them to line steamer baskets for an aromatic touch to dumplings or tamales. The possibilities are endless!
Conclusion
Mastering the art of storing grape leaves opens up a world of culinary possibilities. Whether you choose to freeze, brine, or dry, you’ll have this versatile ingredient at your fingertips year-round. So go ahead, experiment with different preservation methods and explore new recipes. Your next culinary adventure awaits, wrapped in a perfectly preserved grape leaf!


Leave a Reply