
TL;DR
- Strike water is the initial water used in all-grain brewing, crucial for enzyme activation and sugar extraction
- The ideal mash pH range is typically between 5.2 and 5.6, with 5.3 to 5.5 considered optimal
- Temperature control is critical, with the sweet spot usually between 150°F and 158°F (65°C to 70°C)
- Water-to-grist ratio affects mash efficiency and beer characteristics
- Proper strike water preparation and management can significantly improve beer quality
Introduction
Ever wondered why some homebrews taste divine while others fall flat? The secret might be in the water. Not just any water, but strike water – the unsung hero of the brewing world. This crucial ingredient can make or break your beer, affecting everything from flavor to alcohol content.
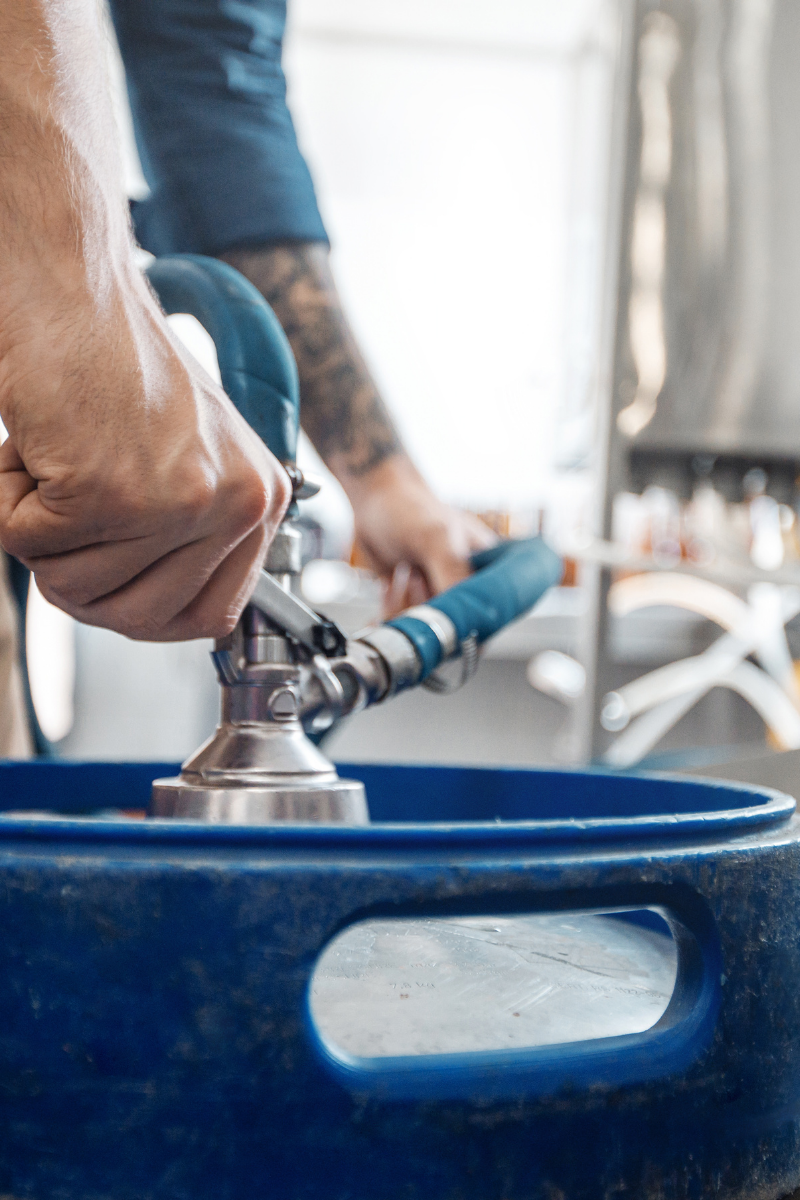
Strike water is the initial water used in all-grain brewing. It’s the first to touch your grains, kickstarting the magical process that transforms simple ingredients into liquid gold. Understanding strike water is like unlocking a cheat code for better beer. Ready to level up your brewing game?
What is Strike Water
Basic Water Properties
Water isn’t just H2O – it’s a brewer’s best friend. Its unique properties make it perfect for brewing. Water molecules are polar, meaning they’re great at dissolving other substances. This is crucial for extracting sugars and flavors from grains.
But there’s more to it. Water’s high specific heat capacity means it can hold and transfer heat effectively. This stability is key during the mashing process, where maintaining the right temperature is critical.
Strike vs Sparge Water
Don’t confuse strike water with its cousin, sparge water. Strike water is the initial batch that mixes with the grains. It’s all about enzyme activation and sugar extraction. Sparge water, on the other hand, is used later to rinse the grains and collect any remaining sugars.
Think of strike water as the opening act, setting the stage for great beer. Sparge water is the encore, making sure you don’t miss out on any of the good stuff.
Purpose of Strike Water
Strike water is the kickstarter of your brew. Its main job? Activate enzymes in the grain and extract those all-important sugars. This process, called mashing, is where the magic happens.
The enzymes awakened by strike water break down complex starches into simple sugars. These sugars will later become food for yeast, determining your beer’s alcohol content and body. Without proper strike water, you might end up with a thin, flavorless brew. Nobody wants that!
Factors Affecting Strike Water
Temperature
Temperature is king when it comes to strike water. Too cold, and your enzymes will snooze through the mashing process. Too hot, and you’ll kill them off before they can do their job.
The sweet spot? Usually between 150°F and 158°F (65°C to 70°C). This range activates different enzymes, each contributing to your beer’s final character. Hotter temperatures tend to produce a fuller-bodied beer, while cooler temps result in a drier, more fermentable wort.
But beware! Go too hot, and you risk extracting tannins. These can make your beer astringent and unpleasant. It’s a delicate balance, but get it right, and your taste buds will dance with joy.
Volume and Thickness
How much strike water should you use? It’s not just about filling your mash tun. The volume affects your mash thickness, which in turn impacts brewing efficiency.
A thicker mash (less water) can lead to a more concentrated wort but might reduce efficiency. A thinner mash (more water) can improve sugar extraction but might dilute flavors. Finding the right balance is key to crafting your perfect brew.
Water Chemistry
Water isn’t just water when it comes to brewing. Its mineral content, pH, and overall chemistry play crucial roles in your beer’s final taste and character.
Different ions in your water can enhance or detract from certain flavors. Calcium helps with enzyme activity, while sulfate can accentuate hop bitterness. Some brewers even add salts or acids to their strike water to achieve specific flavor profiles.
pH is another critical factor. The ideal range for mashing is typically between 5.2 and 5.6 when measured at room temperature, with 5.3 to 5.5 considered optimal by many brewers. Outside this range, enzyme activity can be compromised, affecting your beer’s quality.
Water-to-Grist Ratio
The water-to-grist ratio is a fancy way of saying how much water you use compared to the amount of grain. This ratio affects everything from mash efficiency to the beer’s body and flavor.
A typical ratio might be 1.25 to 1.5 quarts of water per pound of grain. But like many aspects of brewing, there’s room for experimentation. Some brewers prefer a thicker mash for certain styles, while others swear by a thinner mash for maximum efficiency.
Calculating Strike Water
Temperature Calculation
Calculating the perfect strike water temperature can feel like a math exam. But fear not! The basic idea is to aim for a temperature slightly above your target mash temperature. This compensates for heat loss when you add the water to the cooler grains.
A simple rule of thumb: Add about 8-12°F (4-7°C) to your target mash temperature. So, for a target mash temp of 152°F (67°C), you might heat your strike water to around 162°F (72°C).
Remember, factors like ambient temperature and equipment can affect this. It might take a few brews to dial in the perfect temperature for your setup.
Volume Calculation
Determining the right volume of strike water involves considering your batch size, grain bill, and desired mash thickness. A common starting point is about 1.25 to 1.5 quarts of water per pound of grain (2.6 to 3.1 liters per kilogram).
Don’t forget to account for water absorption by the grain. Typically, grain will absorb about 0.5 quarts of water per pound (1 liter per kilogram). Factor this in when calculating your total water needs.
Brewing Software and Calculators
Let’s face it – brewing involves a lot of math. Thankfully, we live in the digital age. Numerous brewing software and online calculators can take the headache out of these calculations.
These tools can help you determine precise strike water temperatures and volumes based on your specific recipe and equipment. They’re a godsend for both novice and experienced brewers alike.
Preparing Strike Water
Preparing strike water is more than just turning on the tap. Start with good quality water – if your tap water tastes good, it’s probably fine for brewing. If not, consider filtered or spring water.
Heat your water to the calculated strike temperature. A good thermometer is crucial here. Don’t trust the one on your kettle – invest in a reliable digital thermometer.
If you’re adjusting water chemistry, add any necessary salts or acids before heating. This ensures they’re fully dissolved and evenly distributed.
Remember, precision is key. A few degrees can make a big difference in your final product. Take your time and get it right.
Strike Water in Brewing
Once your strike water is ready, it’s showtime. Add it to your mash tun and then mix in your crushed grains. This is where techniques like Brew in a Bag (BIAB) or traditional mashing come into play.
Stir well to ensure all grains are wetted. This prevents dry pockets that can lead to poor sugar extraction. Some brewers use a mash paddle, others their trusty brewing spoon. Whatever works for you!
After mixing, close your mash tun and let the enzymes work their magic. This usually takes about 60 minutes, but can vary based on your recipe.
Common Issues and Solutions
Brewing doesn’t always go smoothly. Here are some common strike water issues and how to fix them:
- Temperature too low: Add small amounts of boiling water to raise the temperature.
- Temperature too high: Add cold water or ice to lower the temperature.
- pH off: Use brewing salts or acids to adjust. Small additions can make a big difference.
- Not enough water: Keep some extra hot water on hand to adjust your mash thickness if needed.
Remember, brewing is part science, part art. Don’t be afraid to make adjustments on the fly.
Brewing Water Terminology
Let’s demystify some common water-related brewing terms:
- Liquor: Brewer-speak for water used in brewing.
- Hot Liquor Tank (HLT): Where you heat and store your brewing water.
- Mash: The mixture of strike water and crushed grains.
- Wort: The sweet liquid extracted from the mash, pre-fermentation.
- Grist: The crushed grains used in brewing.
Understanding these terms will help you navigate recipes and brewing discussions like a pro.
Tips for Success
Here are some pro tips to elevate your strike water game:
- Preheat your mash tun to minimize temperature loss.
- Stir your mash thoroughly for even temperature distribution.
- Keep a log of your brews, noting strike water details for future reference.
- Experiment with different water-to-grist ratios to find your sweet spot.
- Don’t stress too much – brewing is about enjoyment as much as precision.
Conclusion
Strike water might seem like a small detail, but it’s the foundation of great beer. It sets the stage for every chemical reaction that follows, influencing your brew’s flavor, body, and character.
Armed with this knowledge, you’re ready to take your brewing to the next level. So fire up that kettle, calculate your temperatures, and get brewing. Your best beer yet is just a perfect strike water away!


Leave a Reply