
TL;DR
- Navy beans can last up to 2-3 years when properly stored in airtight containers
- Store navy beans in cool, dry, dark conditions for optimal preservation
- Undercooked beans can potentially cause food poisoning due to phytohaemagglutinin
- Cooked navy beans can be frozen for up to 6 months
- Older, hard beans can often be revived with extended soaking and baking soda
Introduction
Did you know that navy beans got their name from being a staple in the U.S. Navy diet since the 1800s? These small, white powerhouses of nutrition are more than just a military favorite. They’re versatile kitchen all-stars, ready to jazz up soups, salads, and even desserts. But here’s the catch: their superpowers only last if you store them right. Let’s dive into the world of navy beans and unlock the secrets to keeping them fresh, flavorful, and ready for action.
What Are Navy Beans
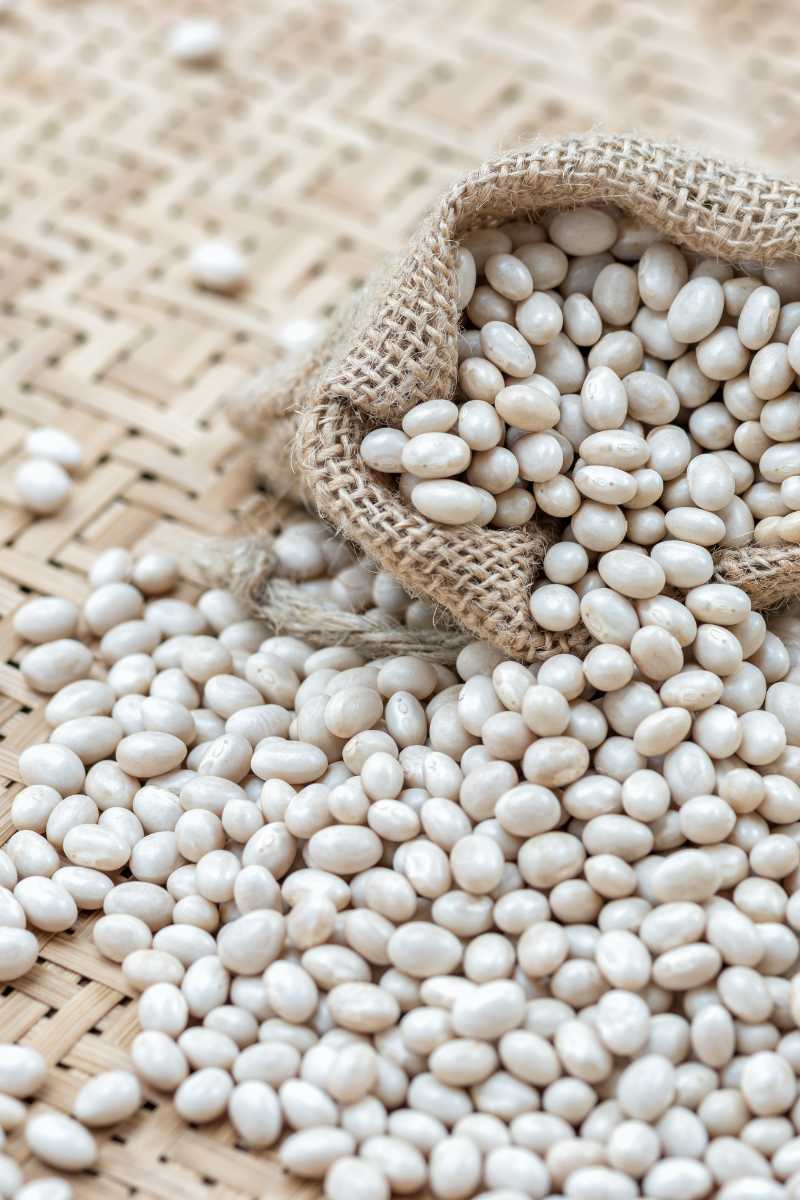
Navy beans are the petite prima donnas of the legume world. Small, oval, and gleaming white, they’re about the size of a pea but pack a flavor punch that belies their diminutive stature. Their mild, nutty taste makes them culinary chameleons, equally at home in a hearty New England clam chowder or a sweet baked bean dish.
These little legumes are nutritional dynamos. Packed with protein, fiber, and essential minerals, they’re like nature’s multivitamin. They’re also a godsend for those watching their waistlines or managing diabetes, thanks to their low glycemic index.
But beware, allergy sufferers! Navy beans belong to the legume family, so if you’re sensitive to peanuts or soy, approach with caution. They may be small, but they’re not to be underestimated in the kitchen or the pantry.
Preparing Beans for Storage
Sorting and Cleaning
Before your navy beans can settle into their new home, they need a bit of TLC. Start by playing bean detective: spread them out on a light-colored surface and look for any party crashers. Rocks, twigs, or beans that look like they’ve seen better days? Show them the door.
Next up: the spa treatment. Give your beans a good rinse under cool water. This isn’t just about cleanliness—it’s your chance to grade your beans like a pro. Look for uniform color and size. Any beans with wrinkled skin or discoloration might be past their prime. Remember, you’re aiming for bean perfection here.
Drying Methods
Now that your beans are clean, it’s time to play the waiting game. Air drying is the old-school method that never fails. Spread your beans out on a clean, dry surface and let them bask in the open air for a few hours. Stir them occasionally to ensure even drying.
For the impatient among us, a food dehydrator can speed things up. Spread the beans in a single layer and let the machine work its magic. Just keep an eye on them—you want dry, not dehydrated to oblivion.
Choosing Storage Containers
Airtight Containers
When it comes to storing your navy beans, think of them as little escape artists. Your mission? Keep them contained in airtight containers. Glass jars are the classic choice—they’re sturdy, see-through, and add a touch of rustic charm to your pantry.
Food-grade plastic containers are another solid option. They’re lightweight and less prone to breakage, which is a plus if you’re a bit clumsy in the kitchen (no judgment here). Whichever you choose, make sure it has a tight-fitting lid. We’re aiming for Fort Knox levels of security here.
Vacuum-Sealed Bags
For the long-haul storage champions, vacuum-sealed bags are your new best friend. These nifty inventions suck out all the air, creating an inhospitable environment for moisture and pests.
To use them, simply fill the bag with your cleaned and dried beans, leaving a bit of space at the top. Use your vacuum sealer according to the manufacturer’s instructions, and voilà! Your beans are now in their own little time capsule, ready to emerge as fresh as the day you sealed them, even months down the line.
Optimal Storage Conditions
Temperature
Navy beans are the Goldilocks of the legume world when it comes to temperature. Too hot, and they’ll dry out faster than a puddle in the desert. Too cold, and you risk condensation, which is basically rolling out the welcome mat for mold.
Aim for a cool, consistent temperature between 50°F and 70°F (10°C to 21°C). Avoid storing them near heat sources like ovens or sunny windows. And those temperature swings? They’re your beans’ worst enemy, potentially leading to moisture buildup and a shorter shelf life.
Humidity
Humidity is the silent killer in the world of bean storage. High humidity can turn your perfectly dried beans into a moldy mess faster than you can say “soup’s on.” The sweet spot? Keep the relative humidity below 15%.
If you live in a humid climate, consider using silica gel packets in your storage containers. These little moisture-absorbing wizards can help keep your beans high and dry. Just remember to replace them periodically to ensure they’re still doing their job.
Light Exposure
Light might be great for your houseplants, but for navy beans? Not so much. Prolonged exposure to light can lead to color changes and nutrient loss, turning your pristine white beans into pale shadows of their former selves.
Store your beans in a dark place, like a pantry or cupboard. If you’re using clear containers, consider wrapping them in cloth or storing them in a box. Think of it as giving your beans a cozy, dark cave to hibernate in until you’re ready to unleash their culinary potential.
Shelf Life and Rotation
Properly stored, dry navy beans can last up to 2-3 years. But let’s be honest, they’re at their best within the first year. After that, they might start to lose their mojo, becoming tougher and taking longer to cook.
To keep your bean game strong, implement a simple rotation system. Label your containers with the date of purchase or storage. Place newer beans at the back of the shelf and older ones in front. This way, you’ll always reach for the older beans first, ensuring nothing goes to waste.
Remember, this isn’t just about avoiding food waste—it’s about consistently amazing meals. Fresher beans cook more evenly and have better texture and flavor. Your taste buds will notice the difference.
Signs of Spoilage
Even with the best storage practices, it’s crucial to check your beans before cooking. Your senses are your best tools here.
Visual cues are your first line of defense. Look for any signs of mold, which can appear as fuzzy spots in various colors. Discoloration or dark spots on the beans are also red flags.
Next, trust your nose. Fresh dry beans should have little to no odor. If you catch a whiff of anything rancid or musty, it’s time to say goodbye.
Finally, give them the touch test. Beans that are too soft or appear to have pest damage should be discarded.
A word of caution: while rare, undercooked beans can cause food poisoning due to a compound called phytohaemagglutinin. Always ensure your beans are thoroughly cooked, especially if they’re older.
Freezing Cooked Beans
Sometimes, you might find yourself with more cooked beans than you can use. Fear not! Freezing is a great way to extend their life and have ready-to-use beans on hand.
Start by cooling your cooked beans completely. Portion them out into freezer-safe containers or bags. Pro tip: freeze them in the portion sizes you typically use in recipes.
If using bags, remove as much air as possible before sealing. Label with the date and contents, then pop them in the freezer. They’ll keep well for up to 6 months.
When it’s time to use them, thaw in the refrigerator overnight. For quicker thawing, place the sealed container in a bowl of cold water. Avoid microwaving to thaw, as this can lead to uneven heating and texture changes.
Using Older Beans
Rehydrating Hard Beans
Found some old, rock-hard beans in the back of your pantry? Don’t toss them just yet! With a little extra TLC, you can often bring them back to life.
Start by soaking them for at least 12 hours, or even overnight. Change the water a few times during this process. For extra-stubborn beans, add a pinch of baking soda to the soaking water.
When it’s time to cook, use fresh water and simmer them low and slow. It might take a bit longer than usual, but patience is key. Keep an eye on the water level and add more if needed. Remember, some dried beans may be difficult to rehydrate depending on factors such as altitude, water hardness, or age of the beans.
Repurposing Into Bean Flour
For those truly ancient beans that refuse to soften, all is not lost. Enter bean flour—a versatile, gluten-free alternative that’s packed with protein and fiber.
To make it, ensure your beans are completely dry, then grind them in a high-powered blender or food processor. Work in small batches for the best results. Sift the flour to remove any larger pieces, then grind those again.
Use your homemade navy bean flour to thicken soups, boost the nutritional value of baked goods, or even as a coating for fried foods. It’s a clever way to rescue beans that are past their prime for traditional cooking methods.
Conclusion
Mastering the art of storing navy beans is like having a secret weapon in your culinary arsenal. With these techniques up your sleeve, you’re ready to keep your beans in top form, whether you’re planning for next week’s dinner or prepping for the long haul. Remember, proper storage isn’t just about longevity—it’s about preserving flavor, texture, and nutritional value. So go forth and store those navy beans like a pro. Your future self (and your taste buds) will thank you.


Leave a Reply