
TL;DR
- Farro comes in three distinct types: einkorn, emmer, and spelt
- Farro is high in fiber, protein, and nutrients but contains gluten
- Proper storage in airtight containers can extend farro’s shelf life up to 6 months in the pantry or 1 year in the freezer
- Farro can be cooked using various methods, including stovetop, slow cooker, and Instant Pot
- Farro’s versatility makes it suitable for a wide range of dishes, from breakfast porridge to dinner risottos
Introduction
Ever wondered how ancient grains can jazz up your modern kitchen? Enter farro, the trendy yet timeless grain that’s been gracing tables for millennia. This nutty, chewy delight is more than just a side dish – it’s a versatile ingredient that’s capturing the hearts (and taste buds) of food lovers everywhere. But here’s the catch: even this hardy grain needs some TLC when it comes to storage. Let’s dive into the world of farro and unlock the secrets to keeping it fresh, flavorful, and ready for your next culinary adventure.
Types of Farro
Farro isn’t a one-size-fits-all grain. In fact, there are three distinct types, each with its own personality:
- Einkorn (farro piccolo): The petite powerhouse, with a delicate flavor and quick cooking time.
- Emmer (farro medio): The most common variety, boasting a robust, nutty taste.
- Spelt (farro grande): The big kahuna, with a chewy texture and earthy flavor profile.
Knowing your farro type is key to storage and cooking success. Each variety has slightly different needs, but don’t worry – we’ve got you covered.
Nutritional Benefits
Farro isn’t just delicious; it’s a nutritional knockout. This ancient grain packs a serious punch:
- High in fiber for happy digestion
- Rich in protein to keep you feeling full
- Loaded with vitamins and minerals, including B vitamins and magnesium
- Contains antioxidants for overall health
But heads up, gluten-sensitive friends: farro does contain gluten. For the rest of us, it’s a digestive-friendly alternative to refined grains, offering a slow release of energy and a satisfying chew.
Choosing Quality Farro
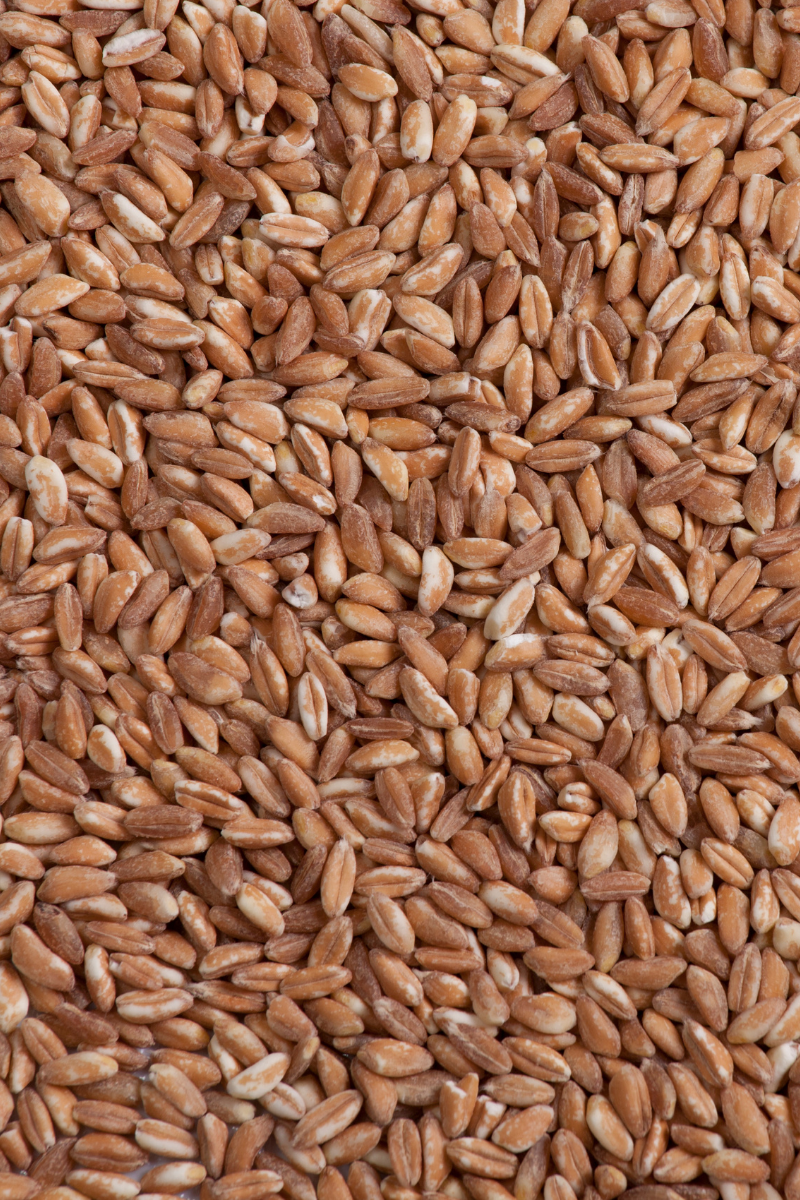
Picking prime farro is your first step to grain greatness. Here’s what to look for:
- Uniform, plump grains without cracks or blemishes
- A subtle, nutty aroma (steer clear of musty smells)
- Pearled, semi-pearled, or whole grain options (whole grain offers maximum nutrition)
Where to find this ancient gem? Check out health food stores, well-stocked supermarkets, or specialty Italian grocers. Online retailers are also a great option for hard-to-find varieties.
Best Containers for Farro
Your farro deserves a cozy home. The best containers are:
- Glass jars with tight-fitting lids
- BPA-free plastic containers with snap-on lids
- Stainless steel canisters
Why these? They keep air and moisture out, and pests at bay. Plus, clear containers let you admire your grain stash – and who doesn’t love a well-organized pantry?
Pro tip: If you’re eco-conscious, repurpose clean, dry pasta sauce jars. They’re perfect for storing farro and add a rustic charm to your kitchen.
Pantry Storage
Farro thrives in cool, dark places. Your pantry is its natural habitat. Follow these tips for optimal storage:
- Keep the temperature steady (around 70°F or below)
- Avoid direct sunlight and heat sources
- Store containers off the floor to prevent moisture absorption
- Label with purchase date to track freshness
Organize your pantry with farro front and center – you’ll be more likely to use it regularly. And trust us, once you start, you won’t want to stop!
It’s worth noting that farro can be stored in a cool, dry pantry for up to 6 months.
Refrigerator Storage
While not necessary for dry farro, refrigeration can extend its shelf life, especially in humid climates. If you choose this route:
- Transfer farro to an airtight container (moisture is the enemy!)
- Place it in the back of the fridge where temperature is most stable
- Let it come to room temperature before cooking to ensure even cooking
Remember: Condensation is a no-no. If you spot any moisture, dry the farro thoroughly before returning it to storage.
Freezer Storage
Freezing farro is like pressing the pause button on freshness. It’s great for both uncooked and cooked farro:
For uncooked farro:
- Place in freezer-safe bags or containers
- Remove as much air as possible
- Label with date and type of farro
- Freeze for up to a year
For cooked farro:
- Cool completely
- Portion into serving sizes
- Store in airtight containers or freezer bags
- Freeze for up to 3 months
Frozen farro is your secret weapon for quick meals. Imagine having pre-cooked farro ready for an instant grain bowl or soup addition!
Shelf Life of Farro
Farro is the marathon runner of grains when it comes to shelf life. Here’s a quick reference:
| Storage Method | Shelf Life |
|---|---|
| Pantry | 6 months |
| Freezer | Up to 1 year |
These are general guidelines – proper storage is key to maximizing longevity. And remember, whole grain farro has oils that can go rancid over time, so use your senses to check for freshness.
Signs of Spoiled Farro
Your nose knows best when it comes to spotting spoiled farro. Watch out for:
- Odd or musty odors
- Visible mold or discoloration
- Clumping or moisture in dry farro
- Changes in texture or taste when cooked
If you spot any of these red flags, it’s time to bid farewell to your farro. Better safe than sorry when it comes to grains!
Moisture and Pest Prevention
Farro’s worst enemies? Moisture and uninvited critters. Here’s how to keep your grain safe:
- Use desiccant packets in storage containers to absorb excess moisture
- Inspect your farro regularly for signs of pests
- Store in a cool, dry place away from potential entry points
- Consider freezing new purchases for 48 hours to eliminate any potential pests
A little prevention goes a long way in keeping your farro fresh and pest-free.
Thawing and Reheating
Frozen farro? No problem! Here’s how to bring it back to life:
Thawing:
- Refrigerator method: Transfer to fridge overnight
- Quick thaw: Place sealed bag in cold water for 1-2 hours
Reheating:
- Microwave: Sprinkle with water, cover, and heat in 30-second bursts
- Stovetop: Add a splash of water or broth, heat over medium-low, stirring occasionally
- Oven: Spread in a baking dish, add liquid, cover, and warm at 350°F for 15-20 minutes
For best texture, add a touch of olive oil or butter when reheating. Your farro will thank you!
Quick Cooking Tips
Farro’s versatility shines in various cooking methods:
- Instant Pot: 1 cup farro to 2 cups liquid, high pressure for 12 minutes, natural release
- Stovetop: Bring a large pot of salted water to a boil, add the farro, and cook until it reaches the desired texture, about 20-30 minutes, then drain
- Slow cooker: Use the low setting for overnight recipes or the high setting for shorter cooking times
The cooking time for farro on the stovetop varies depending on the type of farro. Pearled farro cooks faster than whole grain, so adjust times accordingly. And don’t forget to season your cooking liquid for extra flavor!
Meal Ideas
Let your culinary creativity run wild with these farro-inspired dishes:
- Breakfast: Farro porridge with fresh berries and a drizzle of honey
- Lunch: Cold farro salad with roasted vegetables and feta cheese
- Dinner: Farrotto (farro risotto) with wild mushrooms and parmesan
- Snack: Crispy farro clusters with nuts and dried fruit
Farro’s nutty flavor and chewy texture make it a star in both sweet and savory dishes. Don’t be afraid to experiment – this ancient grain can handle modern twists!
Conclusion
From ancient fields to your modern kitchen, farro has stood the test of time – and with good reason. Its versatility, nutrition, and delightful texture make it a standout in the grain world. By mastering the art of farro storage, you’re not just preserving a food item; you’re safeguarding a piece of culinary history. So go ahead, stock up on this ancient wonder, and let your creativity flow. Your taste buds – and your body – will be grateful for the journey into the world of farro.


Leave a Reply