
TL;DR
- Properly stored breadcrumbs can last 8-10 months in the pantry, 6 months in the refrigerator, and up to 1 year in the freezer
- Moisture control and consistent temperature are crucial for maintaining breadcrumb quality
- Homemade breadcrumbs can be made by drying bread in an oven at 285°F (140°C) for 10-15 minutes
- Airtight containers are essential for storing breadcrumbs in any environment
- Breadcrumbs are versatile ingredients used for coating, binding, topping, and thickening in various dishes
Introduction
You’ve just whipped up a delicious batch of crispy chicken cutlets, and your kitchen smells divine. The secret? A perfectly golden, crunchy coating of breadcrumbs. But now you’re left with half a package of unused crumbs. What’s next?
Knowing how to store breadcrumbs properly is a game-changer for home cooks. These versatile morsels can elevate countless dishes, from crispy toppings to binding agents in meatballs. Let’s dive into the world of breadcrumb storage and unlock their full potential in your culinary adventures.
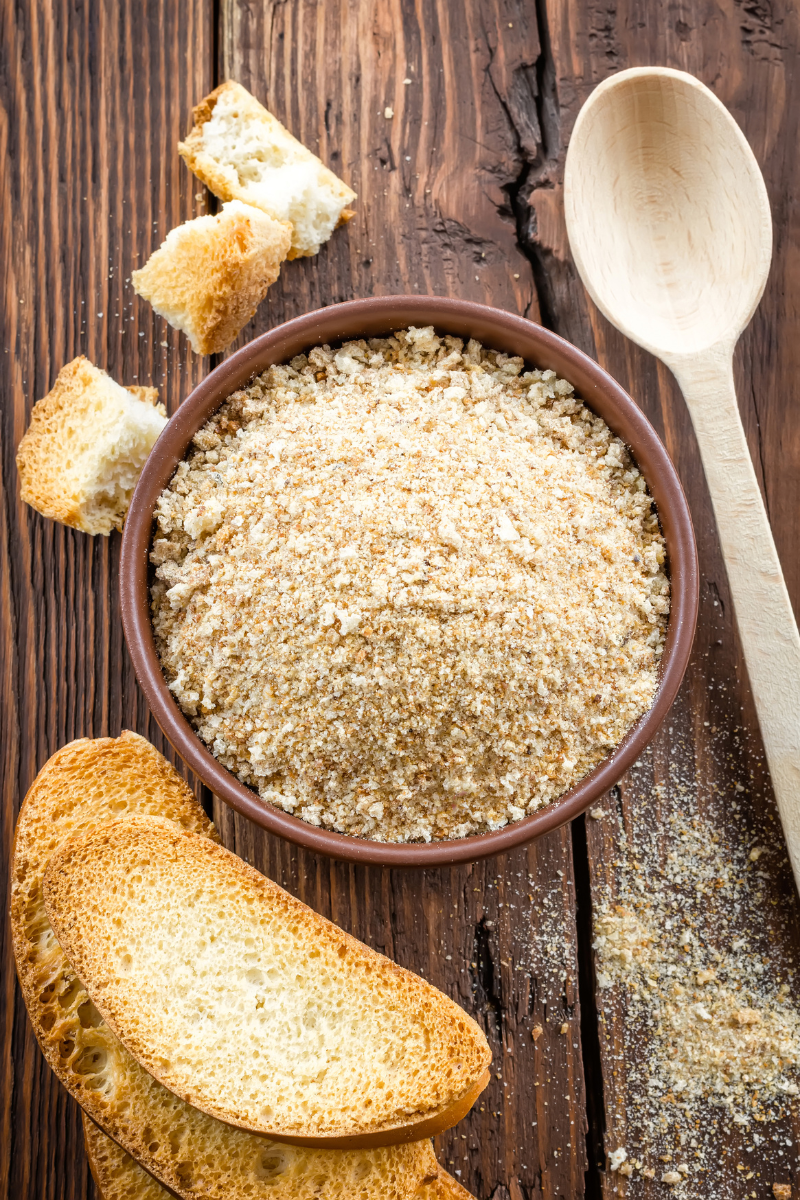
What Are Breadcrumbs
Breadcrumbs are exactly what they sound like – bread that’s been dried and crushed into tiny particles. But don’t let their simplicity fool you. These little crumbs pack a mighty punch in the kitchen.
Chefs use breadcrumbs to add texture, absorb excess moisture, and create crispy coatings. They come in various forms:
- Traditional: Fine, dry crumbs from white or whole wheat bread
- Panko: Larger, flakier Japanese-style breadcrumbs
- Gluten-free: Made from alternative grains like rice or corn
- Seasoned: Pre-flavored with herbs and spices
Each type has its unique qualities, but they all benefit from proper storage to maintain their crunch and flavor.
Storage Methods
Pantry Storage
For most home cooks, the pantry is the go-to spot for breadcrumb storage. It’s convenient and works well for short-term use. Here’s how to do it right:
- Choose an airtight container – glass jars or plastic containers work great.
- Ensure the container is completely dry before adding breadcrumbs.
- Store in a cool, dark place away from heat sources.
- Label the container with the date for easy tracking.
Pantry storage is ideal for store-bought breadcrumbs that you’ll use within a few months. When properly stored, breadcrumbs can last 8-10 months in the pantry for best quality.
Refrigerator Storage
Refrigerating breadcrumbs can extend their shelf life, especially in humid climates. Follow these tips:
- Use an airtight container to prevent moisture absorption.
- Place breadcrumbs towards the front of the fridge for easy access.
- Allow refrigerated breadcrumbs to come to room temperature before use to prevent clumping.
This method is particularly useful for homemade or opened store-bought breadcrumbs. If refrigerating, keep breadcrumbs at temperatures at or below 40°F (4°C).
Freezer Storage
For long-term storage, the freezer is your best friend. Frozen breadcrumbs can maintain their best quality for up to 1 year without losing quality. Here’s how:
- Portion breadcrumbs into freezer-safe bags or containers.
- Remove as much air as possible to prevent freezer burn.
- Label with the date and type of breadcrumbs.
- Thaw in the refrigerator or at room temperature before use.
Freezing is perfect for bulk purchases or large batches of homemade breadcrumbs. Keep frozen breadcrumbs at temperatures of 0°F (-18°C) or below.
Factors Affecting Storage
Moisture Control
Moisture is the arch-nemesis of crispy breadcrumbs. It turns them into a soggy mess and can lead to mold growth. Combat moisture by:
- Using desiccant packets in storage containers
- Avoiding humid storage areas like near the stove or dishwasher
- Scooping out breadcrumbs with a dry spoon to prevent introducing moisture
A little vigilance goes a long way in keeping your breadcrumbs crisp and ready for action.
Temperature Considerations
Temperature plays a crucial role in breadcrumb longevity. Aim for consistent, cool temperatures:
- Pantry storage: 50-70°F (10-21°C)
- Refrigerator: Below 40°F (4°C)
- Freezer: 0°F (-18°C) or below
Fluctuating temperatures can lead to condensation, so choose a stable storage spot for best results.
Homemade Breadcrumbs
Making Breadcrumbs at Home
Creating your own breadcrumbs is a breeze and a great way to use up stale bread. Here’s a quick guide:
- Cube stale bread and pulse in a food processor.
- Spread on a baking sheet and dry in an oven at 285°F (140°C) for 10-15 minutes until golden.
- Let cool completely before storing.
Experiment with different bread types or add your own seasoning blends for custom flavors.
Storing Homemade Breadcrumbs
Homemade breadcrumbs require extra care due to their lack of preservatives. Follow these steps:
- Cool completely to prevent condensation in storage containers.
- Store in small batches to minimize exposure to air.
- Use within 1-2 weeks if stored in the pantry, or freeze for longer shelf life.
Homemade breadcrumbs, when stored properly in a tightly closed container in the pantry, can maintain best quality for up to 8 months.
Reducing Food Waste
Making breadcrumbs is an excellent way to reduce food waste. Don’t toss that stale loaf! Transform it into breadcrumbs and give it new life in future recipes. It’s a win-win for your wallet and the environment.
Maintaining Quality
Shelf Life
Properly stored breadcrumbs can last:
- Pantry: 8-10 months
- Refrigerator: 6 months
- Freezer: Up to 1 year
Signs that breadcrumbs have gone bad include:
- Off odors
- Visible mold
- Clumping or moisture
When in doubt, trust your senses and discard if anything seems off.
Proper Packaging
The right packaging can make or break your breadcrumb storage game. Opt for:
- Glass jars with tight-fitting lids
- Plastic containers with snap-on lids
- Vacuum-sealed bags for freezer storage
Avoid paper bags or containers that aren’t airtight, as they’ll quickly lead to stale, flavorless crumbs.
Common Uses for Breadcrumbs
Breadcrumbs are culinary chameleons, adapting to a variety of dishes:
- Coating for fried foods (chicken, fish, vegetables)
- Binding agent in meatballs and veggie burgers
- Crunchy topping for casseroles and gratins
- Thickener for sauces and soups
- Base for stuffings and fillings
With proper storage, you’ll always have these versatile crumbs ready to elevate your cooking.
Conclusion
Mastering the art of breadcrumb storage opens up a world of culinary possibilities. From crispy coatings to flavorful fillings, these humble crumbs can transform your dishes. By implementing the storage techniques we’ve explored, you’ll ensure that your breadcrumbs stay fresh, crisp, and ready for action. So go ahead, stock up on breadcrumbs or make your own batch – your future meals will thank you.


Leave a Reply